01
—
环境准备
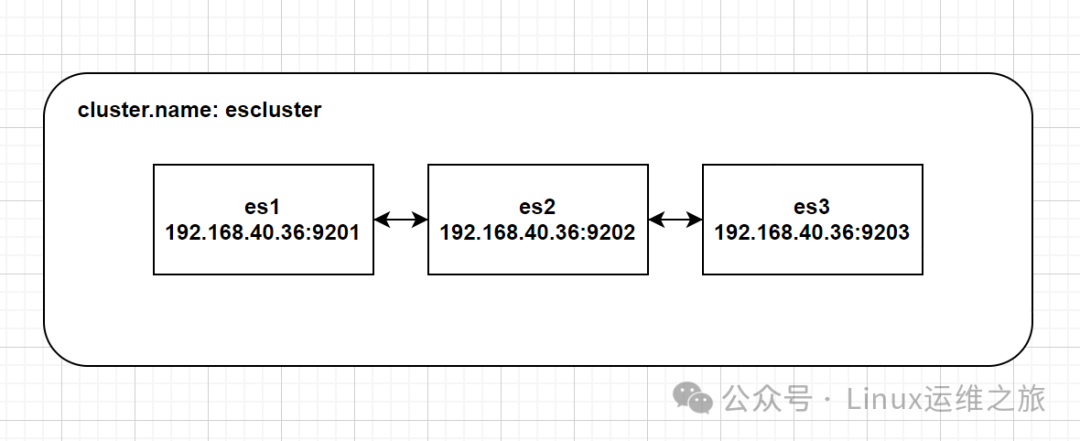
1.1 部署信息
系统:CentOS Linux release 7.9.2009 (Core)
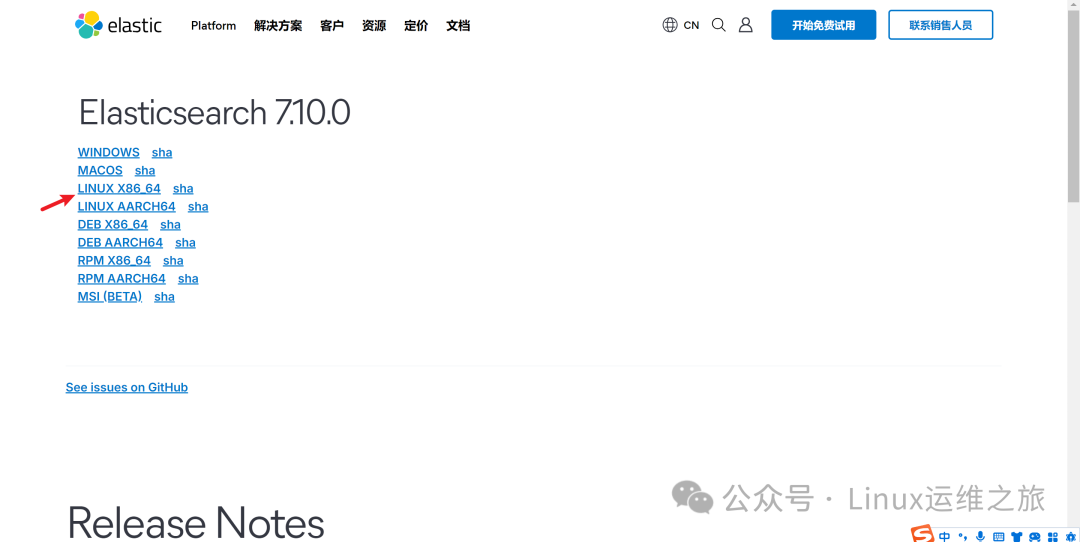
ES版本:7.10
机器信息:
| IP地址 | 端口 | 节点 | Cpu | 内存 | 存储 |
| 192.168.40.36 | 9201 | es1 | 4c | 4g | 100g |
| 192.168.40.36 | 9202 | es2 | 4c | 4g | 100g |
| 192.168.40.36 | 9203 | es3 | 4c | 4g | 100g |
02
—
ES集群搭建过程
2.1配置java环境
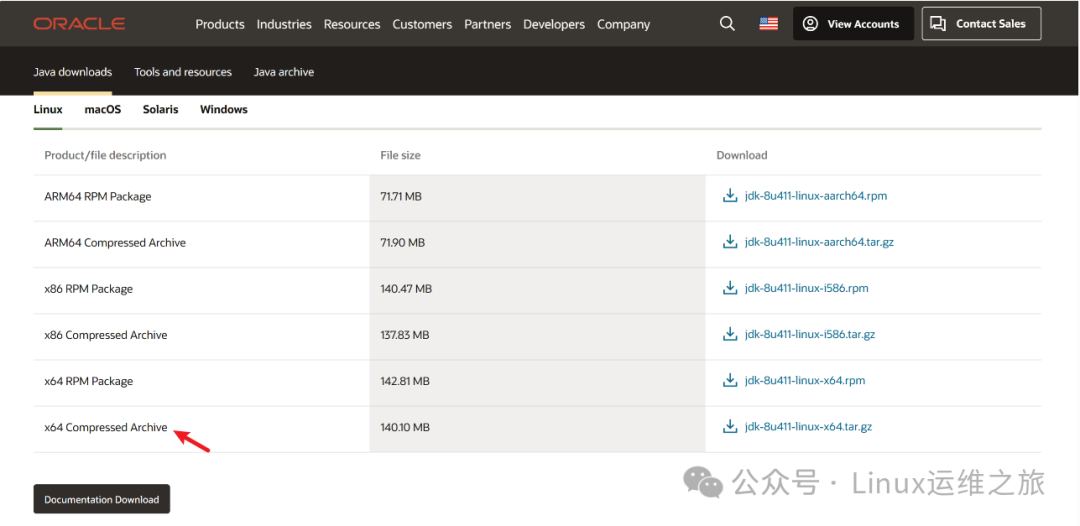
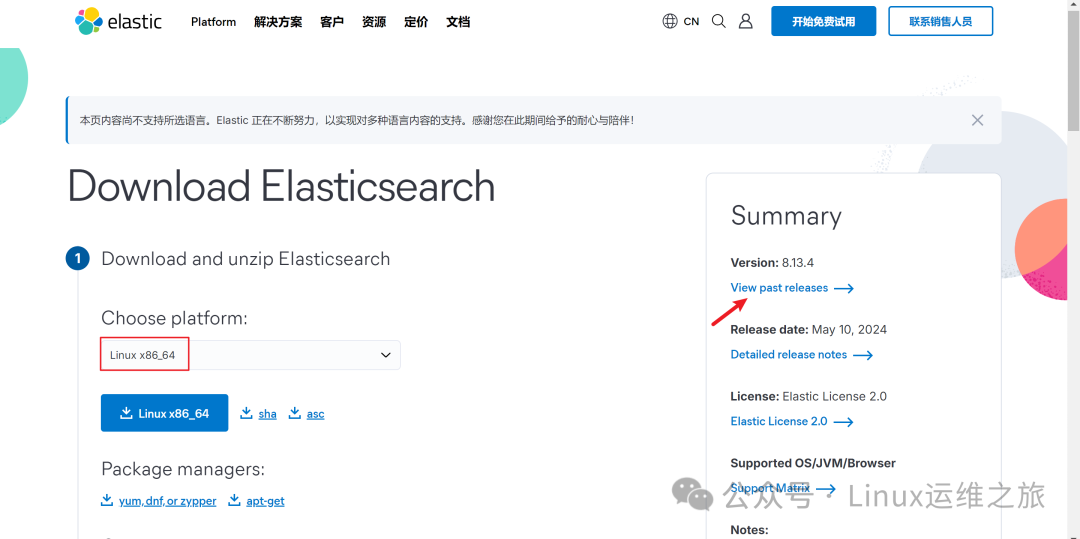
2.1.1登录到oracle的官网下载jdk1.8,并上传至服务器,下载地址:https://www.oracle.com/java/technologies/downloads/
2.1.2 配置环境变量
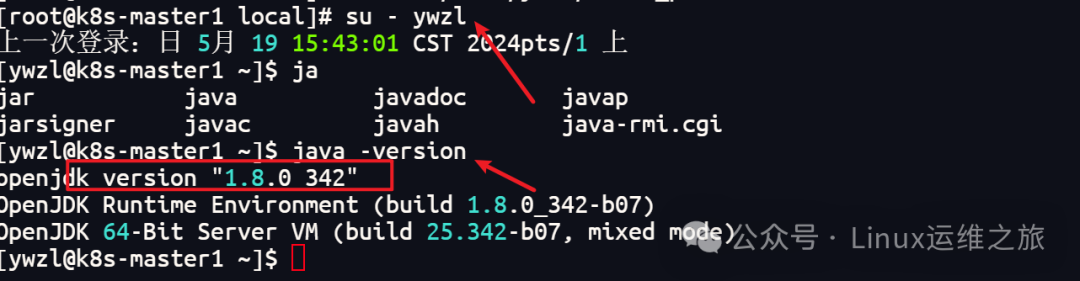
cd/usr/local/tar -xf jdk-8_linux-x64_bin.tar.gzmv jdk-8_linux-x64_bin jdkchown ywzl:ywzl -R jdkvi /home/ywzl/.bash_profileexportJAVA_HOME=/usr/local/jdkexportJRE_HOME=${JAVA_HOME}/jreexportCLASSPATH=.:${JAVA_HOME}/lib:${JRE_HOME}/lib:$CLASSPATHexportJAVA_PATH=${JAVA_HOME}/bin:${JRE_HOME}/binexportPATH=$PATH:${JAVA_PATH}source/home/ywzl/.bash_profile
1
2.2Linux操作系统调优
vim/etc/sysctl.conffs.file-max=655360vm.max_map_count=655360#配置生效sysctl -p
2.2.2 优化资源限制配置文件
vim/etc/security/limits.conf* soft nofile 1024000* hard nofile 1024000* soft nproc 1024000* hard nproc 1024000* soft memlock unlimited* hard memlock unlimited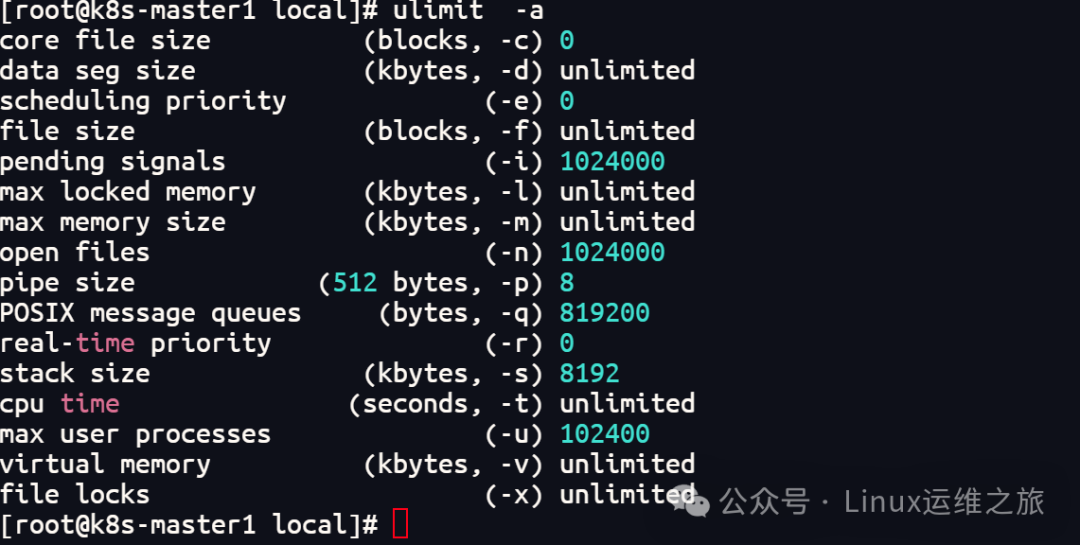
备注:
(nofile)进程最大开打开文件描述符
(nproc)进程最大可以创建的进程数
(memlock)允许进程最大锁定内存地址空间
2.3.3 添加ES配置
cd/home/ywzl/elasticsearch-7.10.0/config/mv elasticsearch.yml elasticsearch.yml.defvimelasticsearch.ymlcluster.name: esclusternode.name: es1node.master: truenode.data:truenode.ingest:truepath.data:/home/ywzl/elasticsearch01/datapath.logs:/home/ywzl/elasticsearch01/logshttp.cors.enabled: true http.cors.allow-origin: "*"bootstrap.memory_lock: truebootstrap.system_call_filter: falsecluster.initial_master_nodes:["es1","es2","es3"]http.port:9201transport.tcp.port:9301network.host:0.0.0.0http.max_initial_line_length: 128khttp.max_header_size: 64kbhttp.max_content_length: 500mbdiscovery.zen.minimum_master_nodes:2discovery.zen.ping_timeout:3sdiscovery.zen.ping.unicast.hosts:["192.168.40.36:9301","192.168.40.36:9302","192.168.40.36:9303"]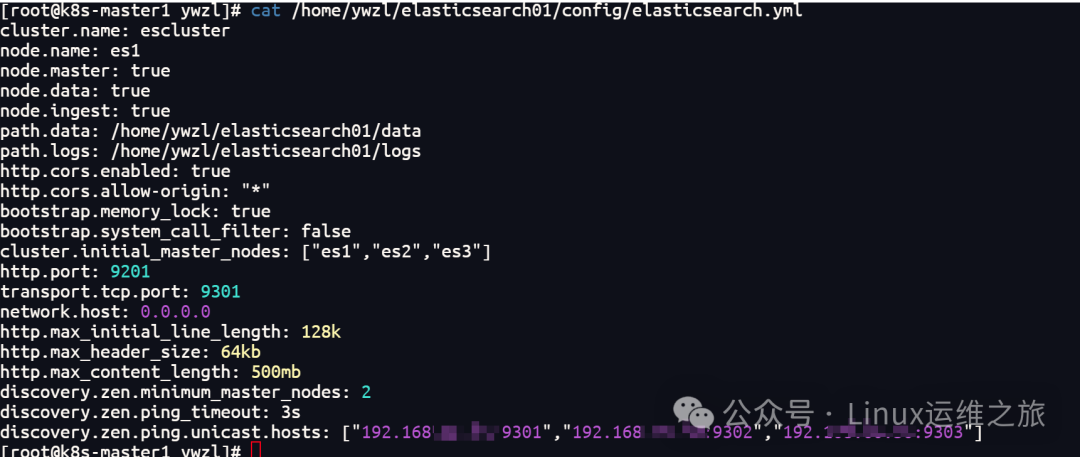
2.3.4 添加其他节点,复制es1目录,然后在修改对于的配置
cp-r elasticsearch01 elasticsearch02cp-r elasticsearch01 elasticsearch03chown -R ywzl:ywzl/home/ywzl/elasticsearch0*
#节点02的配置vim /home/ywzl/elasticsearch02/config/elasticsearch.yml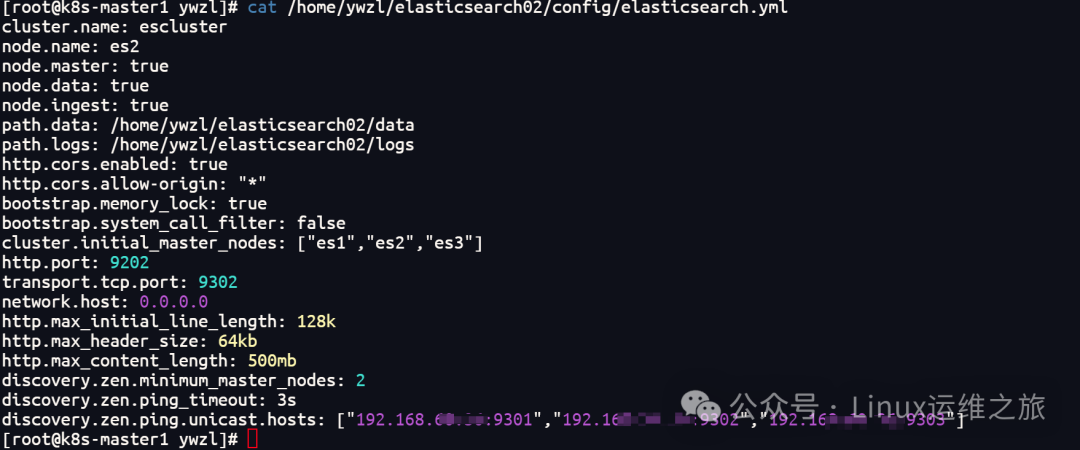
#节点03的配置vim /home/ywzl/elasticsearch03/config/elasticsearch.yml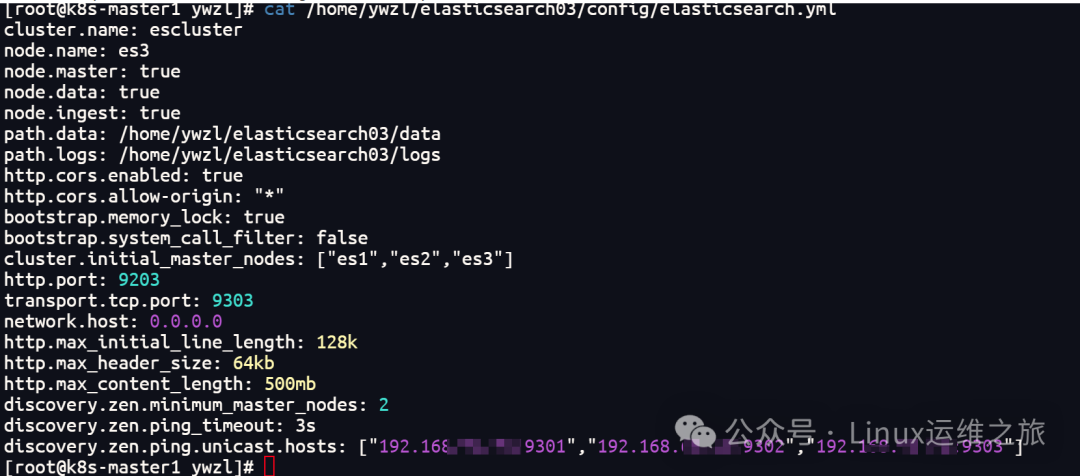
1)启动:/home/ywzl/elasticsearch01/bin/elasticsearch -d/home/ywzl/elasticsearch02/bin/elasticsearch -d/home/ywzl/elasticsearch03/bin/elasticsearch -d2)停止:ps-ef |grepelastic |grep-v grep|awk '{print $2}'|xargs kill
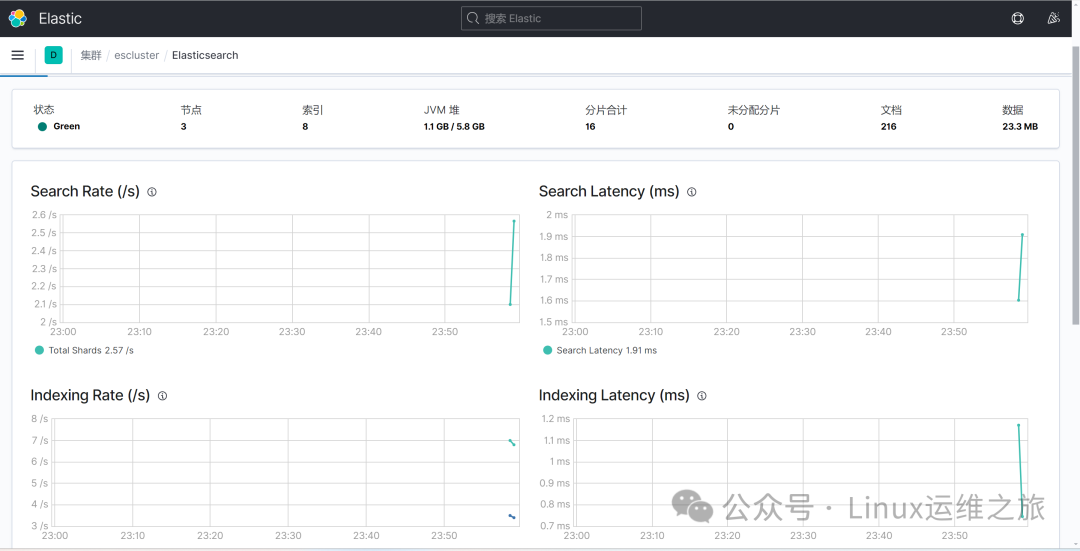
2.3.6 验证集群状态
curl http://192.168.40.36:9201/_cat/nodes?vcurl http://192.168.40.36:9201/_cat/nodes?v
03
—
3.1安装kibana
3.1.1下载kibana安装包,并上传到服务器
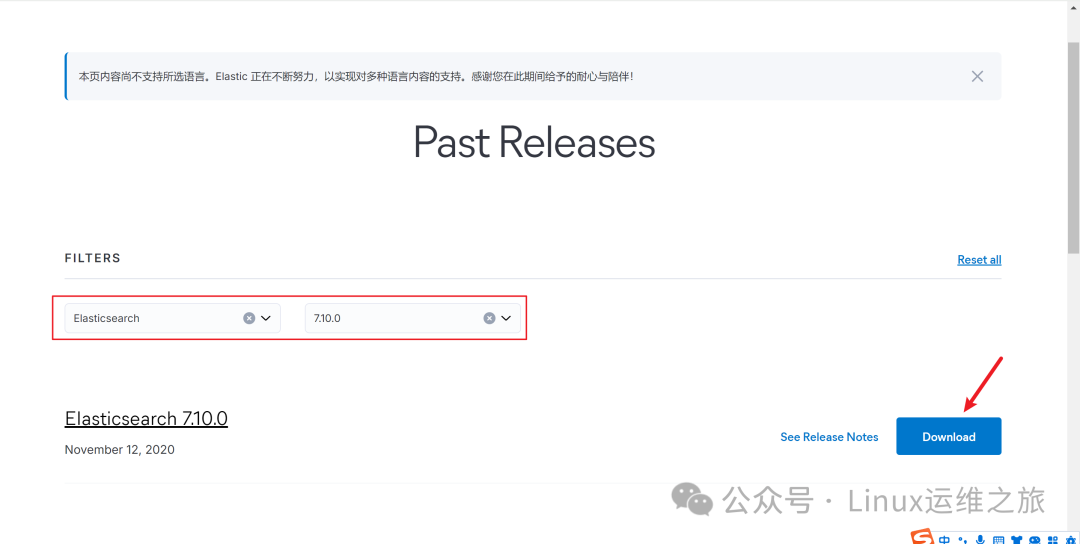
下载地址:https://www.elastic.co/cn/downloads/past-releases#kibana
3.1.2 解压并修改配置
tar -xf kibana-7.10.0-linux-x86_64.tar.gzcatkibana-7.10.0-linux-x86_64/config/kibana.yml |grep-Ev'^#|^$'

3.1.3启动kibana
cd/home/ywzl/kibana-7.10.0-linux-x86_64/nohup bin/kibana2>&1&ss -tunlp |grep5601
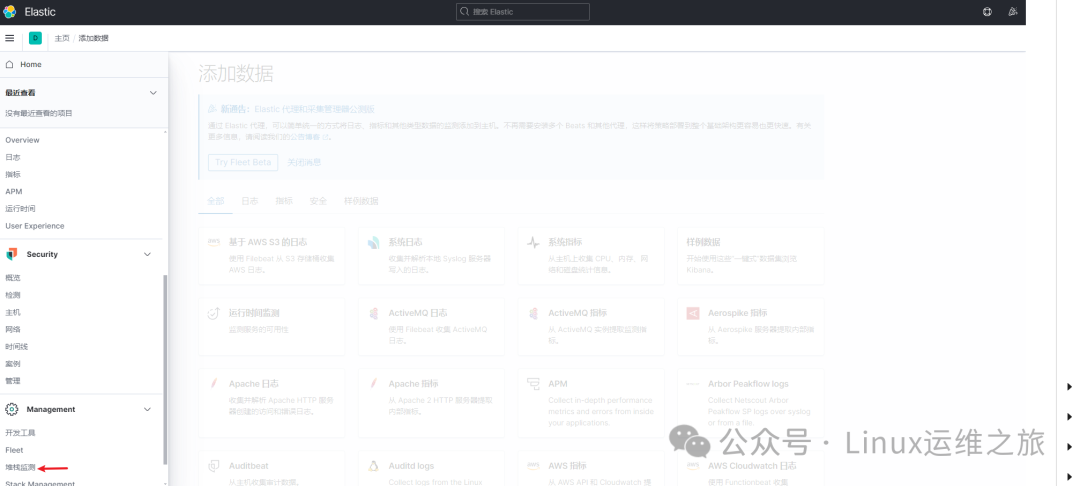
3.1.4访问管理页面,打开浏览器访问:http://192.168.40.36:5601/app/home#/

3.2安装elasticsearch插件(ik中文分词器)
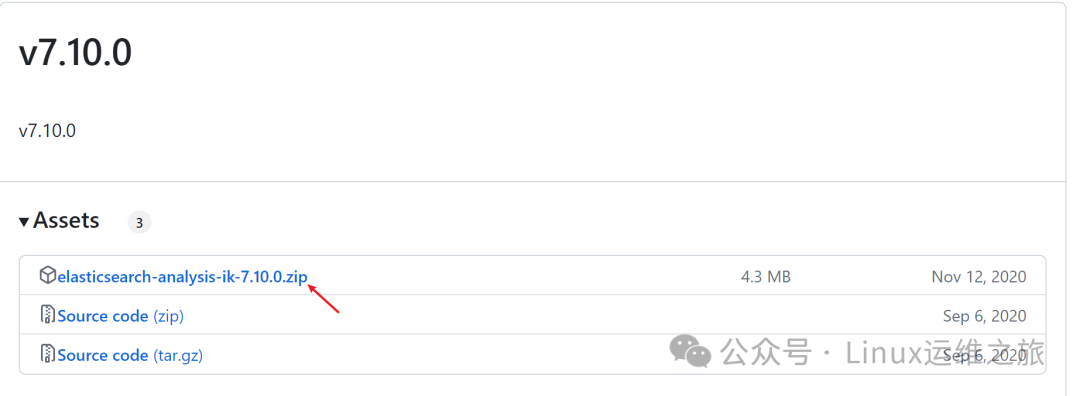
3.2.1下载ik插件,找到和es版本一致的插件, 下载地址:https://github.com/infinilabs/analysis-ik/releases
3.2.2 添加ik中文分词插件
unzip -d /home/ywzl/elasticsearch01/plugins/ik elasticsearch-analysis-ik-7.10.0.zipcp-r /home/ywzl/elasticsearch01/plugins/ik /home/ywzl/elasticsearch02/plugins/cp-r /home/ywzl/elasticsearch01/plugins/ik /home/ywzl/elasticsearch03/plugins/chown -R ywzl:ywzl/home/ywzl/elasticsearch0*
MUSIC ♬..♩~ ♫. ♪.. END 推荐阅读


python自动化模块批量实现多台服务器间SSH免密登录!!!
太强了!分布式Elasticsearch集群数据迁移企业案例
高效部署!使用Docker Compose快速搭建Harbor私有镜像仓库
本篇文章来源于微信公众号: Linux运维之旅
微信扫描下方的二维码阅读本文

Comments NOTHING